How to Add AI Players to your Self-hosted OpenTTD Server’s Multiplayer Games
April 6, 2025 by Andrew Dawes
What is this post about?
OpenTTD is a really fun open-source transportation tycoon game! If you haven’t played it before, I would recommend trying it out – it’s free to download on Steam.
I self-host a few multiplayer OpenTTD servers. I use a PC I built, running Ubuntu, with LXD as a hypervisor. I run the OpenTTD servers as Docker containers. I manage the containers using Portainer.
I’ve been wanting to add AI competitors to my OpenTTD games for a while now. Although playing with other human players is a TON of fun and I (personally) would never want to be the only human player in a game of OpenTTD, I’ve noticed we human players tend towards collaboration – which means we all end up playing as the same in-game Company, without any competition. The game is still fun – but it’s mostly us competing against the game mechanics themselves.
So this weekend, I embarked on the journey of adding some AI players to my OpenTTD servers.
I didn’t expect this to be so difficult!
It took me a few hours, but I finally discovered how to do all of this – and along the way, I learned a lot about OpenTTD AI.
Below is a guide for adding AI players to your multiplayer OpenTTD!
A simple guide
Start your server
I run my OpenTTD servers on my home-lab’s infrastructure using LXD and Docker.
I use Cloudflare WARP to expose the OpenTTD servers to users outside of my LAN.
This works by creating a private network (VPN) in Cloudflare. User devices can connect to this VPN using the WARP client. My VM can connect to the VPN using a Cloudflare Tunnel.
This effectively bridges the networking gap between users’ devices and the VM running my OpenTTD servers.
End-to-end, it works something like this:
I run the Cloudflare Tunnel agent as a Docker container on my VM.

You can think of a Tunnel as a bidirectional connection between the Docker container and Cloudflare’s network – initiated by the Docker container.
I set up a Route in the Cloudflare VPN to forward requests addressed for a specified IP address back to the Cloudflare Tunnel agent running on my VM.

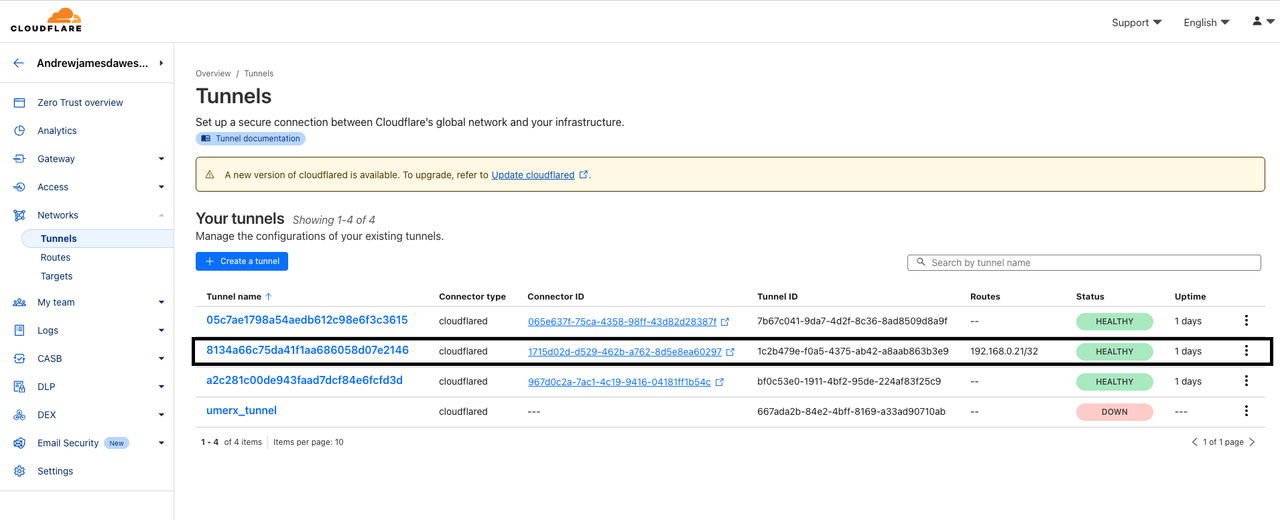
This Route allows anyone who is connected to the VPN to access the VM directly via an IP Address (I use the same IP Address the VM has on my LAN).
I set up a domain name resolving to this private IP Address in order to give it a more memorable name for human users.
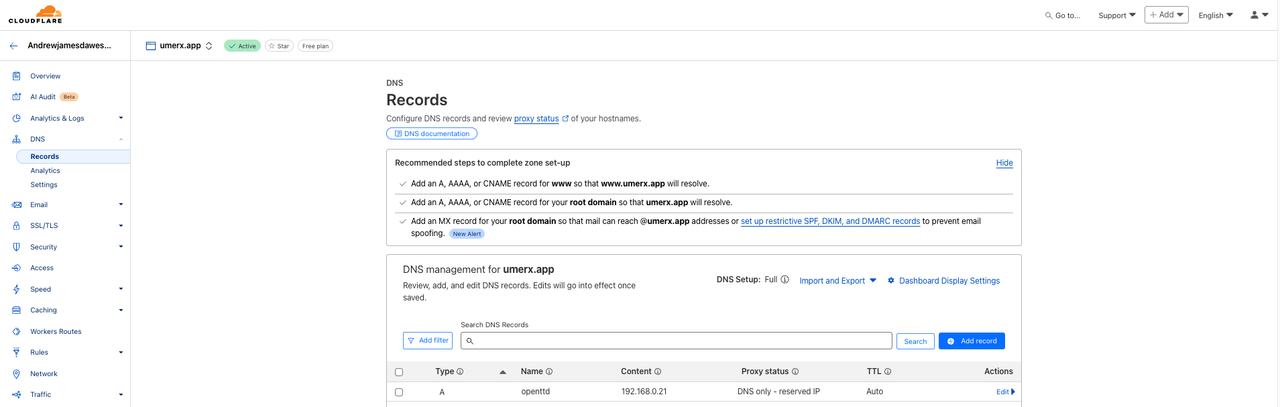
Requests resolve from that “prettier” domain name to the private IP address of my VM.
Because of the VPN’s routing rules, each user’s VPN client recognizes the IP address should be forwarded to Cloudflare – and sends any requests off to Cloudflare’s network.
Inside Cloudflare’s network, the Routing rules ensure these requests are then forwarded through the tunnel to my Docker container running within my LAN.
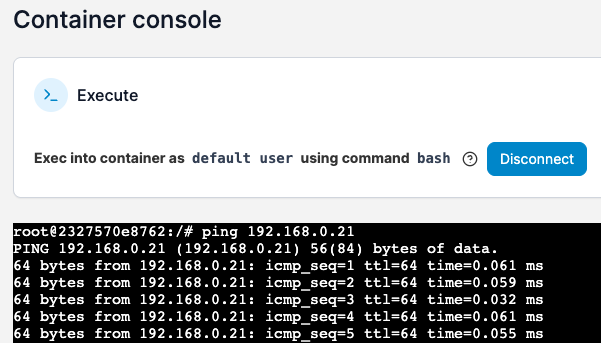
Once the requests reach my Docker container, that private IP address is now routable to the LXD VM itself.
Ports numbers are used to distinguish specific services running on that VM – Docker maps ports on the host (the VM) to ports within specific Docker containers running on that same host.
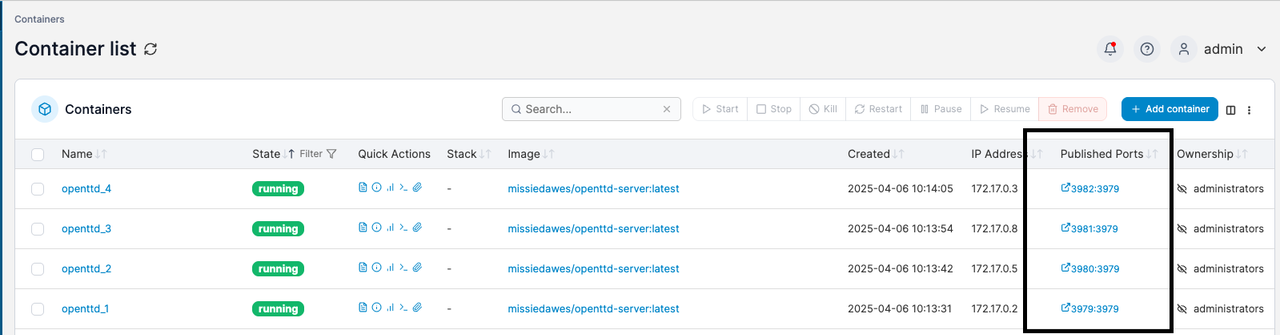
Overall, this configuration has the effect of exposing all services (open ports) on the LXD VM to anyone who can connect to the Cloudflare VPN.
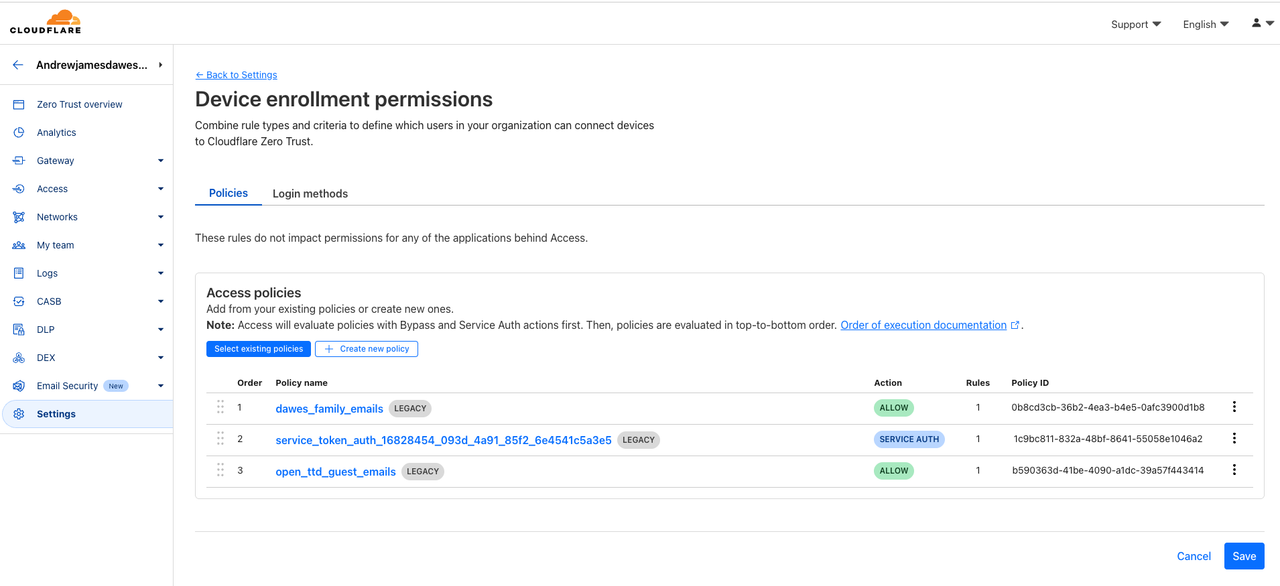
I restrict who can connect to the VPN using Cloudflare Access Polices.
Persist the content_download directory
OpenTTD will install and utilize code for the AIs from the content_download directory within the game installation.
I choose to create a Docker volume that will be shared between ALL my OpenTTD game servers.
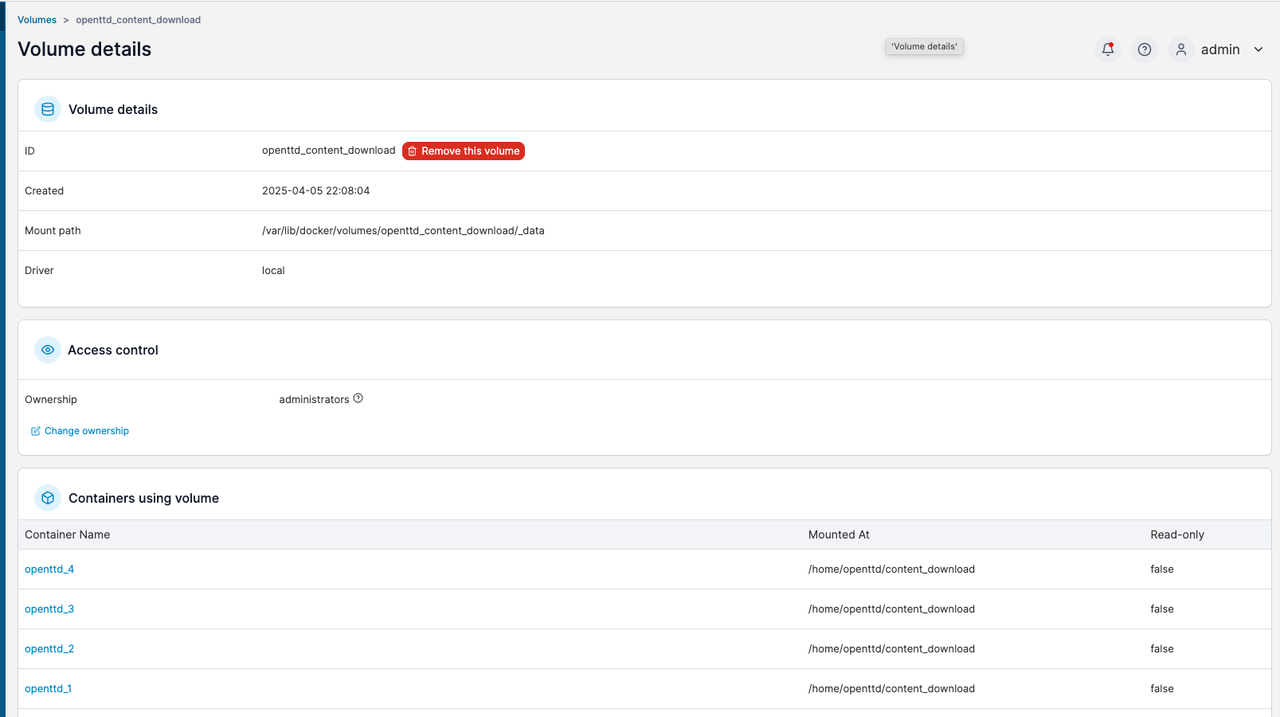
I do this because I don’t wish for any downloaded content to be “duplicated”.
Since all game servers can “opt-in” to using these libraries, and there shouldn’t be any substantial difference in a given library’s code – regardless of whether it is included on one game server vs another – this is a measure on my part to save some disk space (and reduce the manual effort to ensure commonly-used packages are separately installed for each game server I run).
I mount this volume to a folder named content_download which shares a parent directory with my openttd.cfg file.

OpenTTD will automatically populate this directory with contents once the server is started.
Join a game
I connect to my game server and open the OpenTTD console using ~.
Since we will need to install packages on the OpenTTD server itself (and not my local game client), we will need to run commands as the game server’s admin.
We can do this by prefixing commands with rcon and our admin password.
So commands will take this format
rcon <server_admin_password> <command>In the examples below, I will demo this on an OpenTTD game server where the admin password is longrivers.
List downloadable AI
I use OpenTTD console commands to list which AI are available for download.
I first run the rcon <server_admin_password> "content update" command to refresh the list of downloadable content.

I then list the available content using the rcon <server_admin_password> content "content state" command.
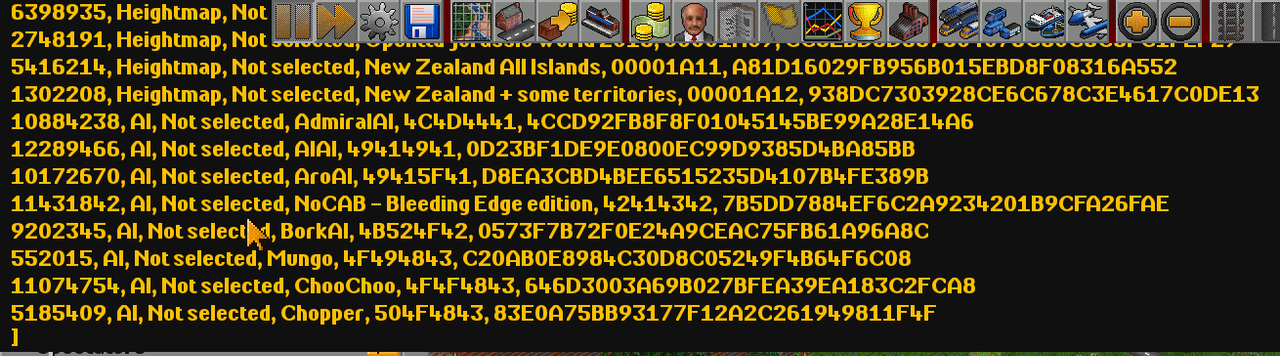
This prints a very, very long list of all content available for download – including AI, Game Scripts, and NewGRF (New Graphics Resource) files. I had to scroll way, way up to find the section for “AI”.
Note: You will want to be careful not to accidentally confuse AI library for AI. The libraries are dependencies needed for the AI to run, but are useless unless you install an AI. Dependencies will be automatically installed when you install an AI.
These are some AI libraries:
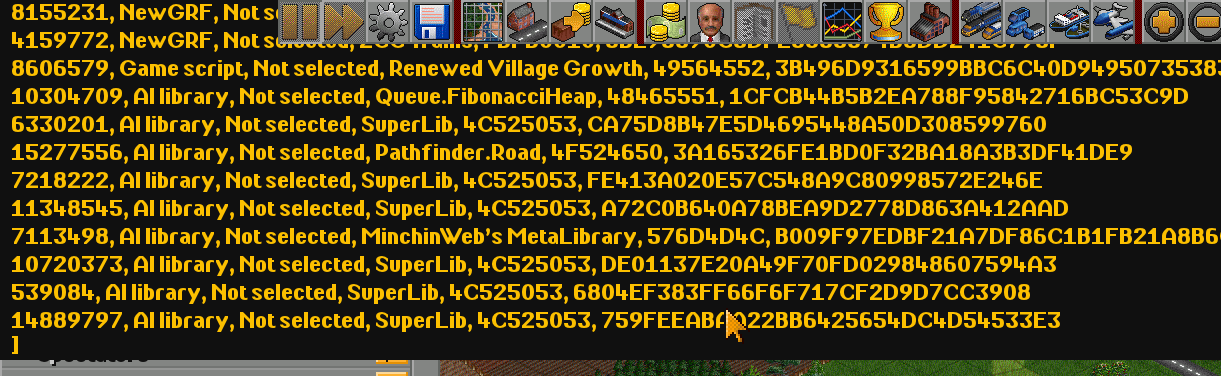
These are the AI we are interested in installing:
Choose an AI
From the list of AI, choose one you are interested in installing. Take note of its ID (leftmost column).
For example, in this image:
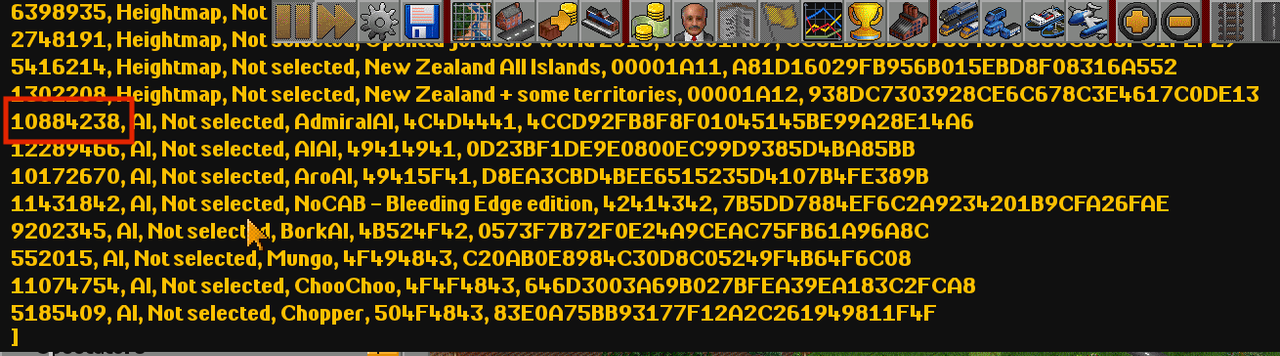
The ID for AdmiralAI is 10884238.
Download the AI
Once you know the AI’s ID, you can install it using the rcon <server_admin_password> "content select <id>" and content download commands.
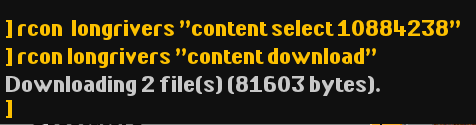
Taking our example above, to install AdmiralAI:
rcon <server_admin_password> "content select 10884238"
rcon <server_admin_password> "content download"
You should see the content and any dependencies download.
This will install the AI to your content_download folder, where it will be accessible to any OpenTTD servers that have access to that volume.

Add the AI to the game
Congratulations! You just installed an AI!
Now, let’s get it added to a game!
Join or start a game on a server that has access to the content_download folder where we previously downloaded our AI using the OpenTTD console commands.
Open the OpenTTD console using ~.
Type rcon <server_admin_password> "start_ai <ai_name>", where <server_admin_password> is the admin password for your OpenTTD server and <ai_name> is the name of the AI you downloaded previously.
For example, to start the AdmiralAI we installed above, we would run:
rcon <server_admin_password> "start_ai AdmiralAI"This should start the AI. If you see no output (or errors), that is a good sign!

If you haven’t yet restarted your OpenTTD server after installing a new AI, you may receive a Failed to load the specified AI error – even if you can see the AI files installed within your content_download directory.

This is because even though the AI is installed, the OpenTTD server hasn’t yet scanned it.
To force the server to scan for new AIs, you can run:
rcon <server_admin_password> "rescan_ai"This will force OpenTTD to look for new AI in the content_download directory. Running rcon <server_admin_password> "list_ai" should now reveal the new AI.
If you encountered this error, after rescanning and confirming the AI is now listed, try starting it again with rcon <server_admin_password> "start_ai <ai_name>".
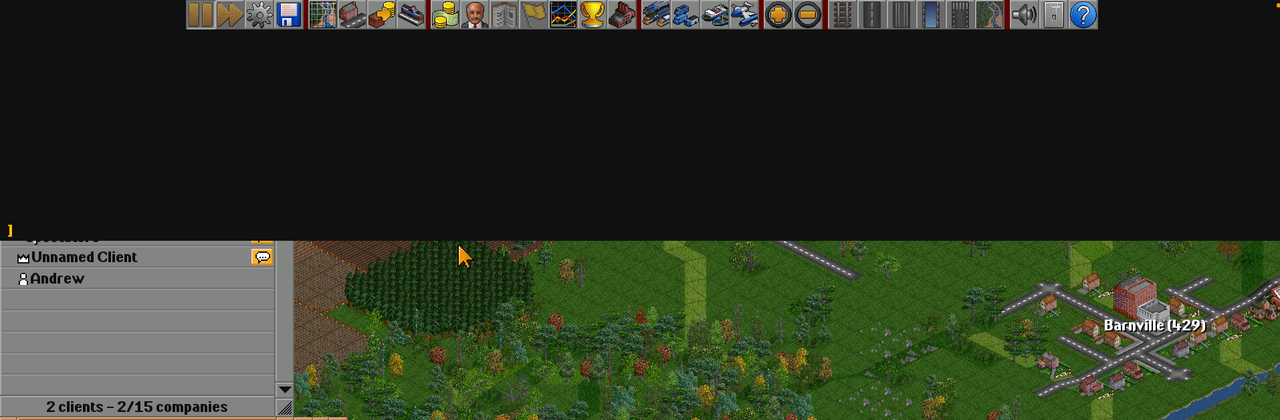
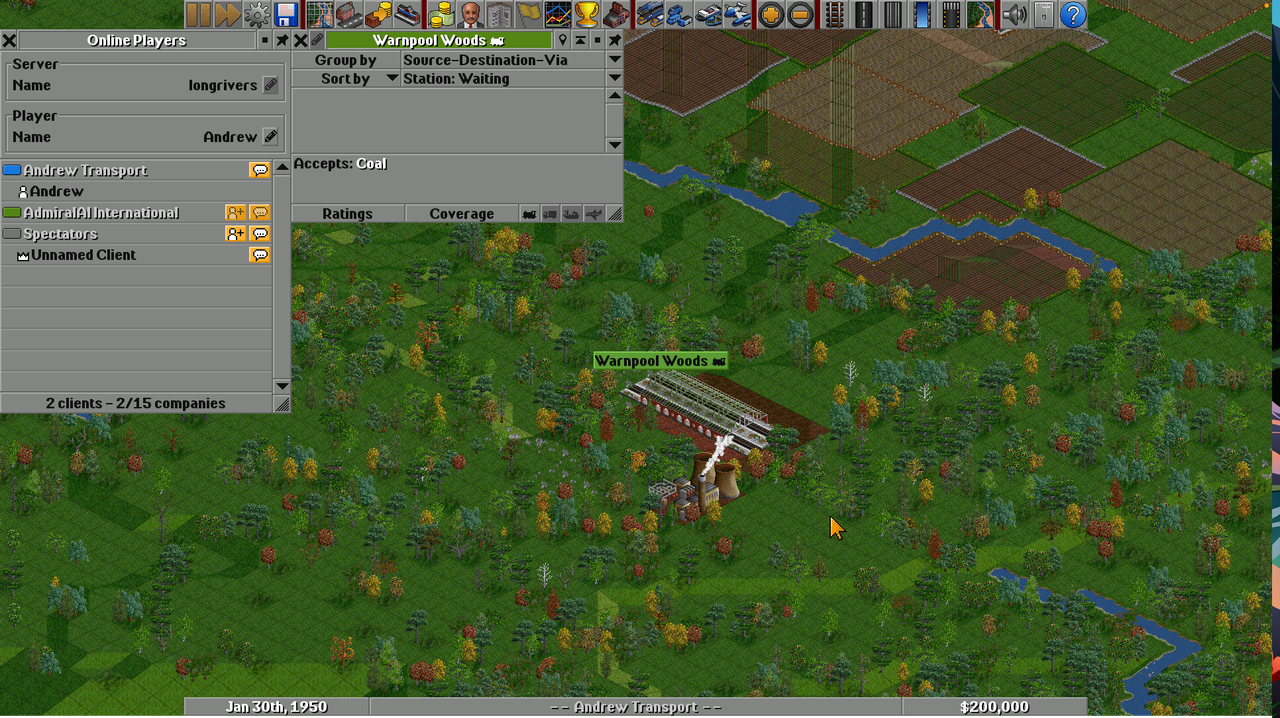
If your game is paused, you may see an Unnamed company in the list of Online Players.
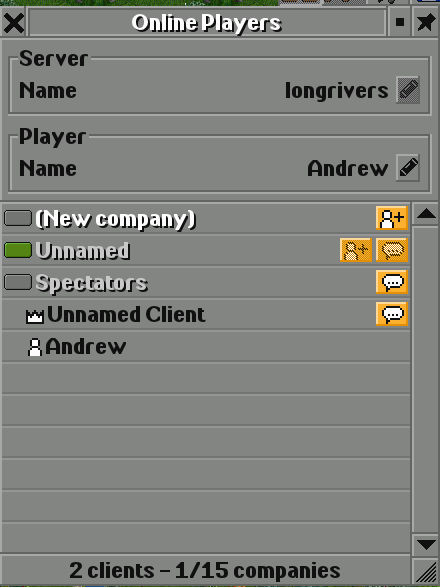
This is the AI, waiting for the game to resume.
Once the game is resumed, you should see the AI join a company.

You should see the AI start to get busy, building new transportation infrastructure.
Summary
Congratulations! You just added an AI to your OpenTTD Multiplayer Game!
I would encourage you to check out the OpenTTD Wiki to learn more about the various AI available for download and their specific configuration parameters.
You can view a list of AI here.
If you are interested in coding your own AI for OpenTTD, I would start by checking out their tutorials!